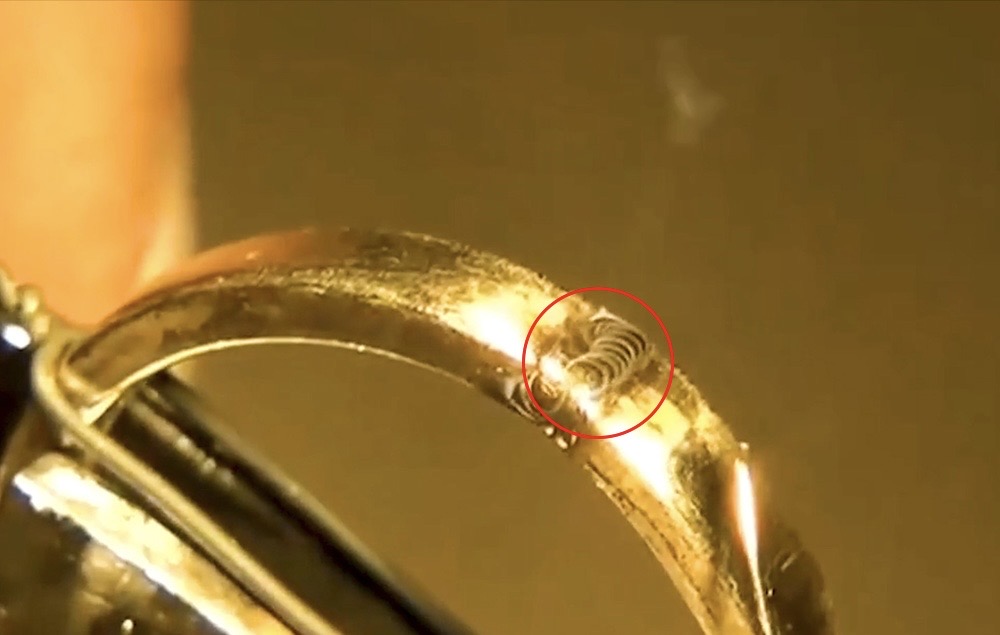
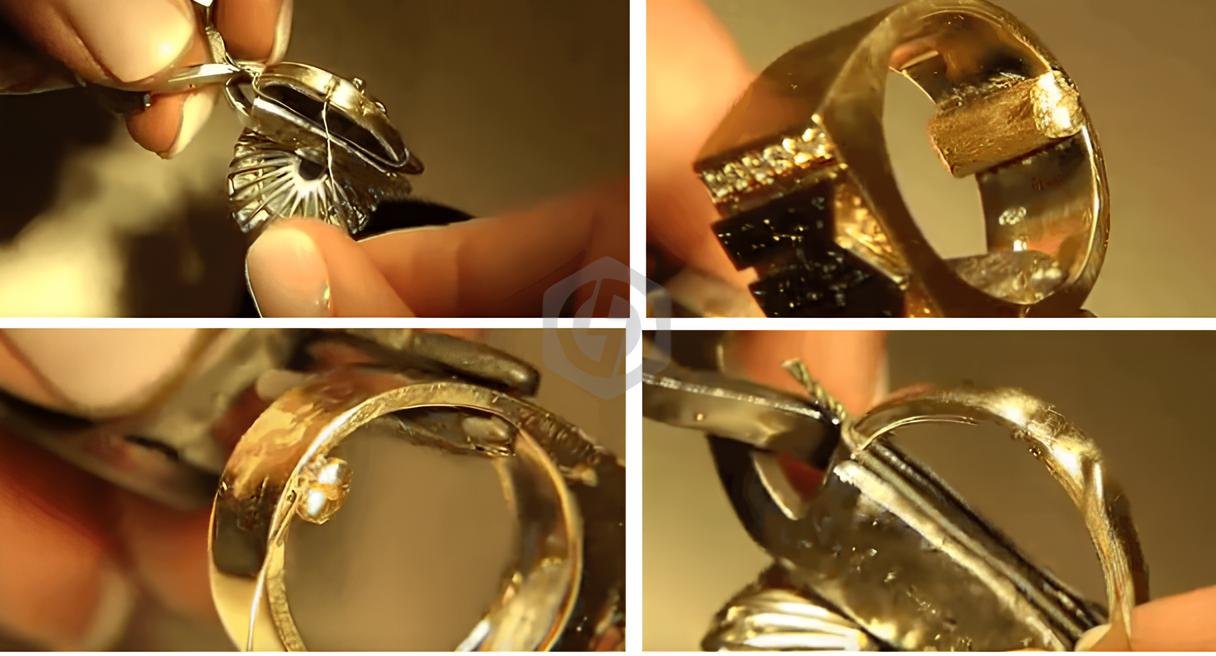
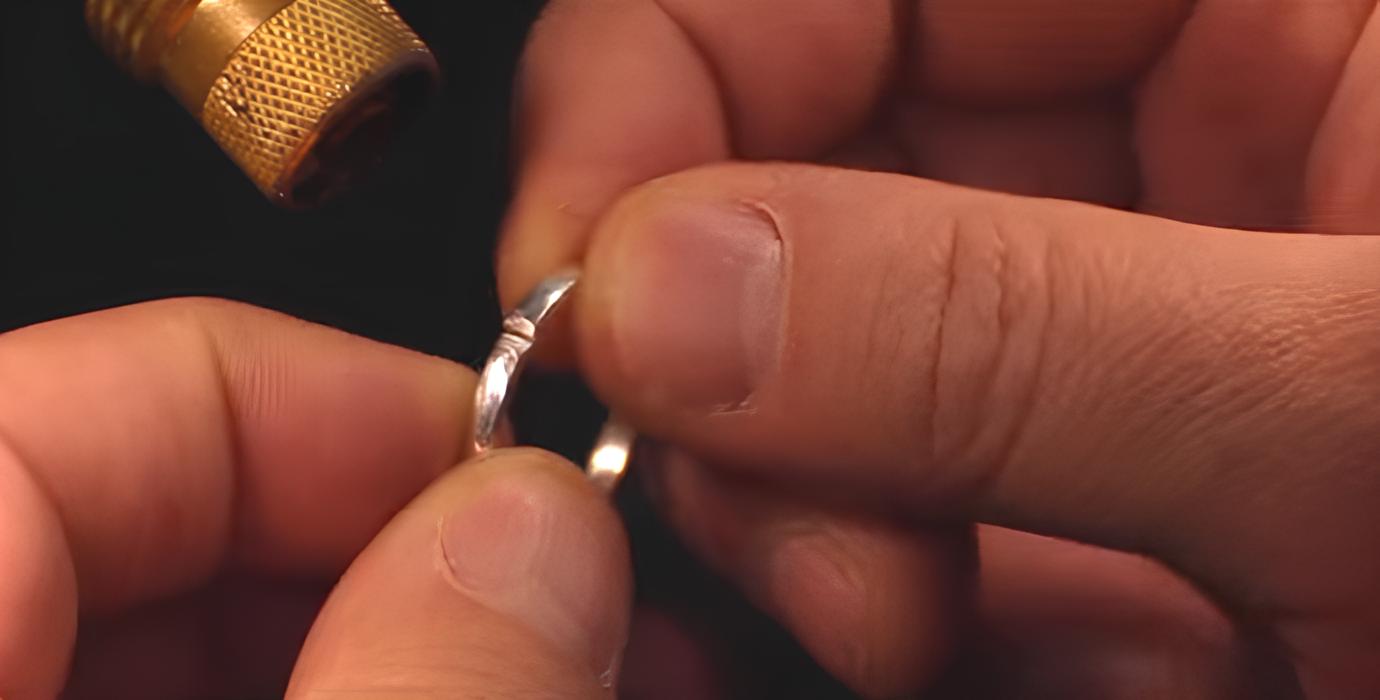
Have you seen jewelry break or look flawed after laser welding? I know I have experienced this. You’re not the only one facing this problem. Many jewelers I know struggle with issues like cracks, weak spots, or even discoloration. I suggest that figuring out what goes wrong during welding can make a huge difference. But, based on my experience, even if you have the right equipment, a hidden challenge can often go unnoticed…
Permanent Jewelry Welder Incomplete Penetration
Incomplete penetration means the permanent jewelry welder didn’t fuse the material all the way through. I find this creates weak joints. These joints might crack or break under pressure. This often happens in butt joints if the gaps are not filled.
Causes of Incomplete Penetration in Jewelry Laser Welding
Low laser power, high travel speed, or even a slight beam focus error can all reduce weld depth and quality. Poor technique or operator mistakes often cause incomplete fusion. Using the wrong wire size or feed speed also disrupts the melt pool and weakens the weld.
My Tips for Preventing This: How I Ensure Full Welds
To improve weld quality, I recommend increasing the laser power to ensure full penetration through the material. When using a permanent jewelry welder slowing down the travel speed also helps achieve consistent, deeper welds. It’s important to regularly calibrate and maintain the beam focus to match the joint depth. Using the correct welding technique and matching electrode or wire sizes ensures proper root fusion. Lastly, always carry out quality checks—such as inspecting test weld sections or performing microhardness tests—to confirm that at least 90% of the joint is properly fused.
Permanent Jewelry Welder Cracking of Welds
Welding cracks often occur during the use of permanent jewelry welder. From my experience, it’s an expensive issue. It harms how the final piece looks and holds together. The main types I see are thermal (hot) cracks and cold cracks.
Causes of Hot and Cold Cracks in Jewelry Laser Welding
- Thermal cracks (hot cracks) appear when the weld metal hardens. This often happens in areas with impurities like sulfur or copper. These spots melt easily and stay weak as the metal cools. In my observation, this weakness makes them likely to break under pressure.
- Cold cracks can show up while the metal cools or even after it’s cooled. I often find them along the base metal or where the weld meets the base metal. Sometimes, cracks show up much later, long after you finish welding.
Key Data and Prevention Measures
To prevent cracks during welding with a permanent jewelry welder, control the settings carefully—power, speed, focus, and current. Cool the weld slowly to reduce stress; pre-heating or post-heating can help. Use a wide, shallow weld seam and try wobble welding to improve grain structure. Weld in multiple low-current passes to reduce temperature stress. Choose pure metals with low sulfur and copper content. Make sure the joint fits tightly and is well aligned. Avoid too much heat or pulse energy—smaller settings and thinner wire reduce crack risk.
Permanent Jewelry Welder Unstable Laser Power
In my experience, unstable laser power is a common problem in permanent jewelry laser welder. It can cause poor weld quality and inconsistent results. This slows down your work. Problems can come from high heat or electrical noise. I believe understanding and fixing these issues helps your welder perform reliably. This leads to better jewelry repairs and production.
Key Causes and Solutions for Unstable Laser Power
- Causes: Unstable laser power in permanent jewelry welders can be caused by several factors. Poor cooling can lead to high temperatures and power drops. Dirty or damaged optics reduce energy transmission. Voltage fluctuations affect the laser output. Signal interference disrupts pulse consistency, and pulse instability causes inconsistent welds, even if average power looks fine.
- Solutions: To stabilize laser power, ensure effective cooling to keep the temperature below 45°C. Regularly clean and inspect optical parts, and replace flash lamps and filters yearly. Use a voltage stabilizer for steady power and match the power input to the machine’s requirements. Prevent signal issues with shielded cables, proper wire placement, and secure grounding. Finally, use energy meters to monitor pulse stability and detect any irregularities.
Permanent Jewelry Welder Poor Weld Quality
Poor quality welds in permanent jewelry welder work can lower a piece’s value and strength. This includes issues like holes (porosity), too much buildup, or dark seams. I believe fixing these common laser welding mistakes is key to getting professional results.
Causes and Solutions for Porosity in Jewelry Laser Welding
- Primary Causes of Porosity: Porosity in jewelry laser welding commonly occurs when repairing cast jewelry that already has internal voids or when using filler alloys that are incompatible with the base material. It can also develop during laser fusion of existing defects if not properly addressed, leading to air pockets or holes in the weld.
- Effective Prevention Methods: To avoid porosity, it’s important to verify the integrity of the base metal before starting any repairs. Using high-quality, compatible filler alloys ensures a strong bond. Additionally, plan for repairs that cover areas three to four times larger than the visible defects and ensure a sufficient supply of filler wire to fully fill any cavities.
Optimal Techniques for Weld Buildup Control
- Common Causes of Excessive Buildup: Excessive weld buildup in permanent jewelry welder applications is typically caused by incorrect wire feed settings, slow travel speeds, or using too much laser power. These issues can result in raised or uneven seams that are difficult to finish cleanly.
- Recommended Adjustments: To reduce weld buildup, increase the welding travel speed by 15–20% when working with thinner materials, and lower the wire feed rate by 10–15% for more precise control. For delicate pieces, decreasing the laser power by 5–10% can also help. Gradually testing and adjusting these parameters will help you achieve smoother, more controlled welds.
Preventing Discoloration and Surface Imperfections
- Primary Causes of Blackened Seams: Blackened seams and surface imperfections in permanent jewelry welder often result from thermal overload, dirty lenses or mirrors, incorrect focal length settings, or poor handling of reflective surfaces. These factors reduce weld quality and affect the final appearance.
- Best Practice Solutions: To avoid discoloration, clean the welding lens regularly—ideally every 8–10 hours of use—and ensure the focal distance is accurately calibrated. Adjust energy settings to suit the material’s reflectivity, and always clean and degrease the workpiece surface before welding to improve results.
Critical Parameter Optimization
- Essential Parameter Considerations: In jewelry laser welding, the material’s thickness affects how much laser power you need, the joint shape influences how fast you should move the weld, and the quality of the finish impacts how much filler wire to use. Matching these parameters correctly is essential for a clean, reliable weld.
- Implementation Guidelines: To get the best results, keep detailed records of your settings for each material. Always perform test welds when switching to a different thickness, and establish standard baseline settings for common jewelry metals. Use small, step-by-step adjustments to fine-tune your welding process as needed.
Permanent Jewelry Welder Improper Beam Focusing
Improper beam focusing is a big reason for problems when using permanent jewelry welder. When the laser beam isn’t focused the right way, the power density at the weld point decreases. This can cause weak welds or shallow penetration. Sometimes, it causes too much melting. In my experience, this hurts the quality of your work.
Common Causes of Improper Beam Focusing
Improper laser beam focusing in a permanent jewelry welder can result from incorrect lens or laser head positioning, damaged or dirty optical components, or failure to recalibrate after part replacements. This leads to reduced welding strength, insufficient weld depth, and unstable joints. The laser spot may become too large or irregular, potentially damaging the nozzle or failing to melt the metal properly. Uneven energy distribution can cause pits, cracks, and discoloration, especially in precious metals like gold.
Preventive and Corrective Actions
I always recommend ensuring that the focal spot aligns perfectly with the weld seam before starting welding. After repairs or lens changes, recalibrate the focus and use test welds and spot checks to verify accuracy. To minimize stress on the material during fine focus adjustments, it’s best to make gradual changes in settings rather than sudden energy spikes.
Nozzle or Protective Lens Damage
In my experience, damage to the nozzle or protective lens is frequent with jewelry laser welders. This damage can hurt your welding quality. It might shorten the equipment’s life. It can even create safety hazards.
Key Causes and Signs of Damage
Protective lenses like focus, collimator, and reflector lenses prevent spatter and high temperatures during welding. If they get damaged or dirty, it can weaken laser power, affecting wire melting. You may also see flames from the nozzle or uneven welds. A dirty or damaged nozzle in a permanent jewelry welder can cause more debris and spatter on the lenses, leading to more frequent replacements.
Preventing Nozzle and Protective Lens Damage
I recommend using original or approved lenses and nozzles and handling them with clean gloves. Avoid pointing the welding gun directly down to prevent debris on the lens. Regularly check the laser QBH connector for dirt or damage. Replace damaged nozzles immediately. Choose the right nozzle for your welding job to prevent issues.
Welding Deviation in Jewelry Laser Welding
Welding deviation means the weld metal hardens off-center in the joint. I find this happens often in permanent jewelry welder applications. It can harm the piece’s final strength and look.
Key Causes of Welding Deviation
The main causes of welding deviation include poor alignment when using a permanent jewelry welder, incorrect filler wire timing, and misalignment of parts. If the laser beam or jewelry piece is not properly aligned, the weld may be off-center. Incorrect filler wire timing can prevent proper joining, and misalignment of components increases the risk of deviation.
Welding deviation can lead to uneven or incomplete joints, weaker pieces, and visible surface flaws, especially on fine jewelry. Additionally, it may cause the product to fail quality control checks.
Practical Solutions to Minimize Welding Deviation
Carefully adjust the welding position and double-check the alignment before beginning. Ensure the filler wire timing aligns with the weld seam location. Before welding, inspect the setup to ensure proper alignment of the lamp, wire, and weld area.
Summary
I’ve studied common laser welding problems and found that using the right techniques and keeping equipment in good shape really improves jewelry quality. Whether it’s a standard setup or a permanent jewelry welder, tackling these issues directly helps us create stronger, better-looking pieces. This leads to happier customers. I believe that constant learning and attention to detail are key—not just part of the job, but what makes a good jeweler great. Every successful weld brings us closer to mastering the craft. For more details about jewelry laser welder or to get a quote, contact us today!


Recent Comments