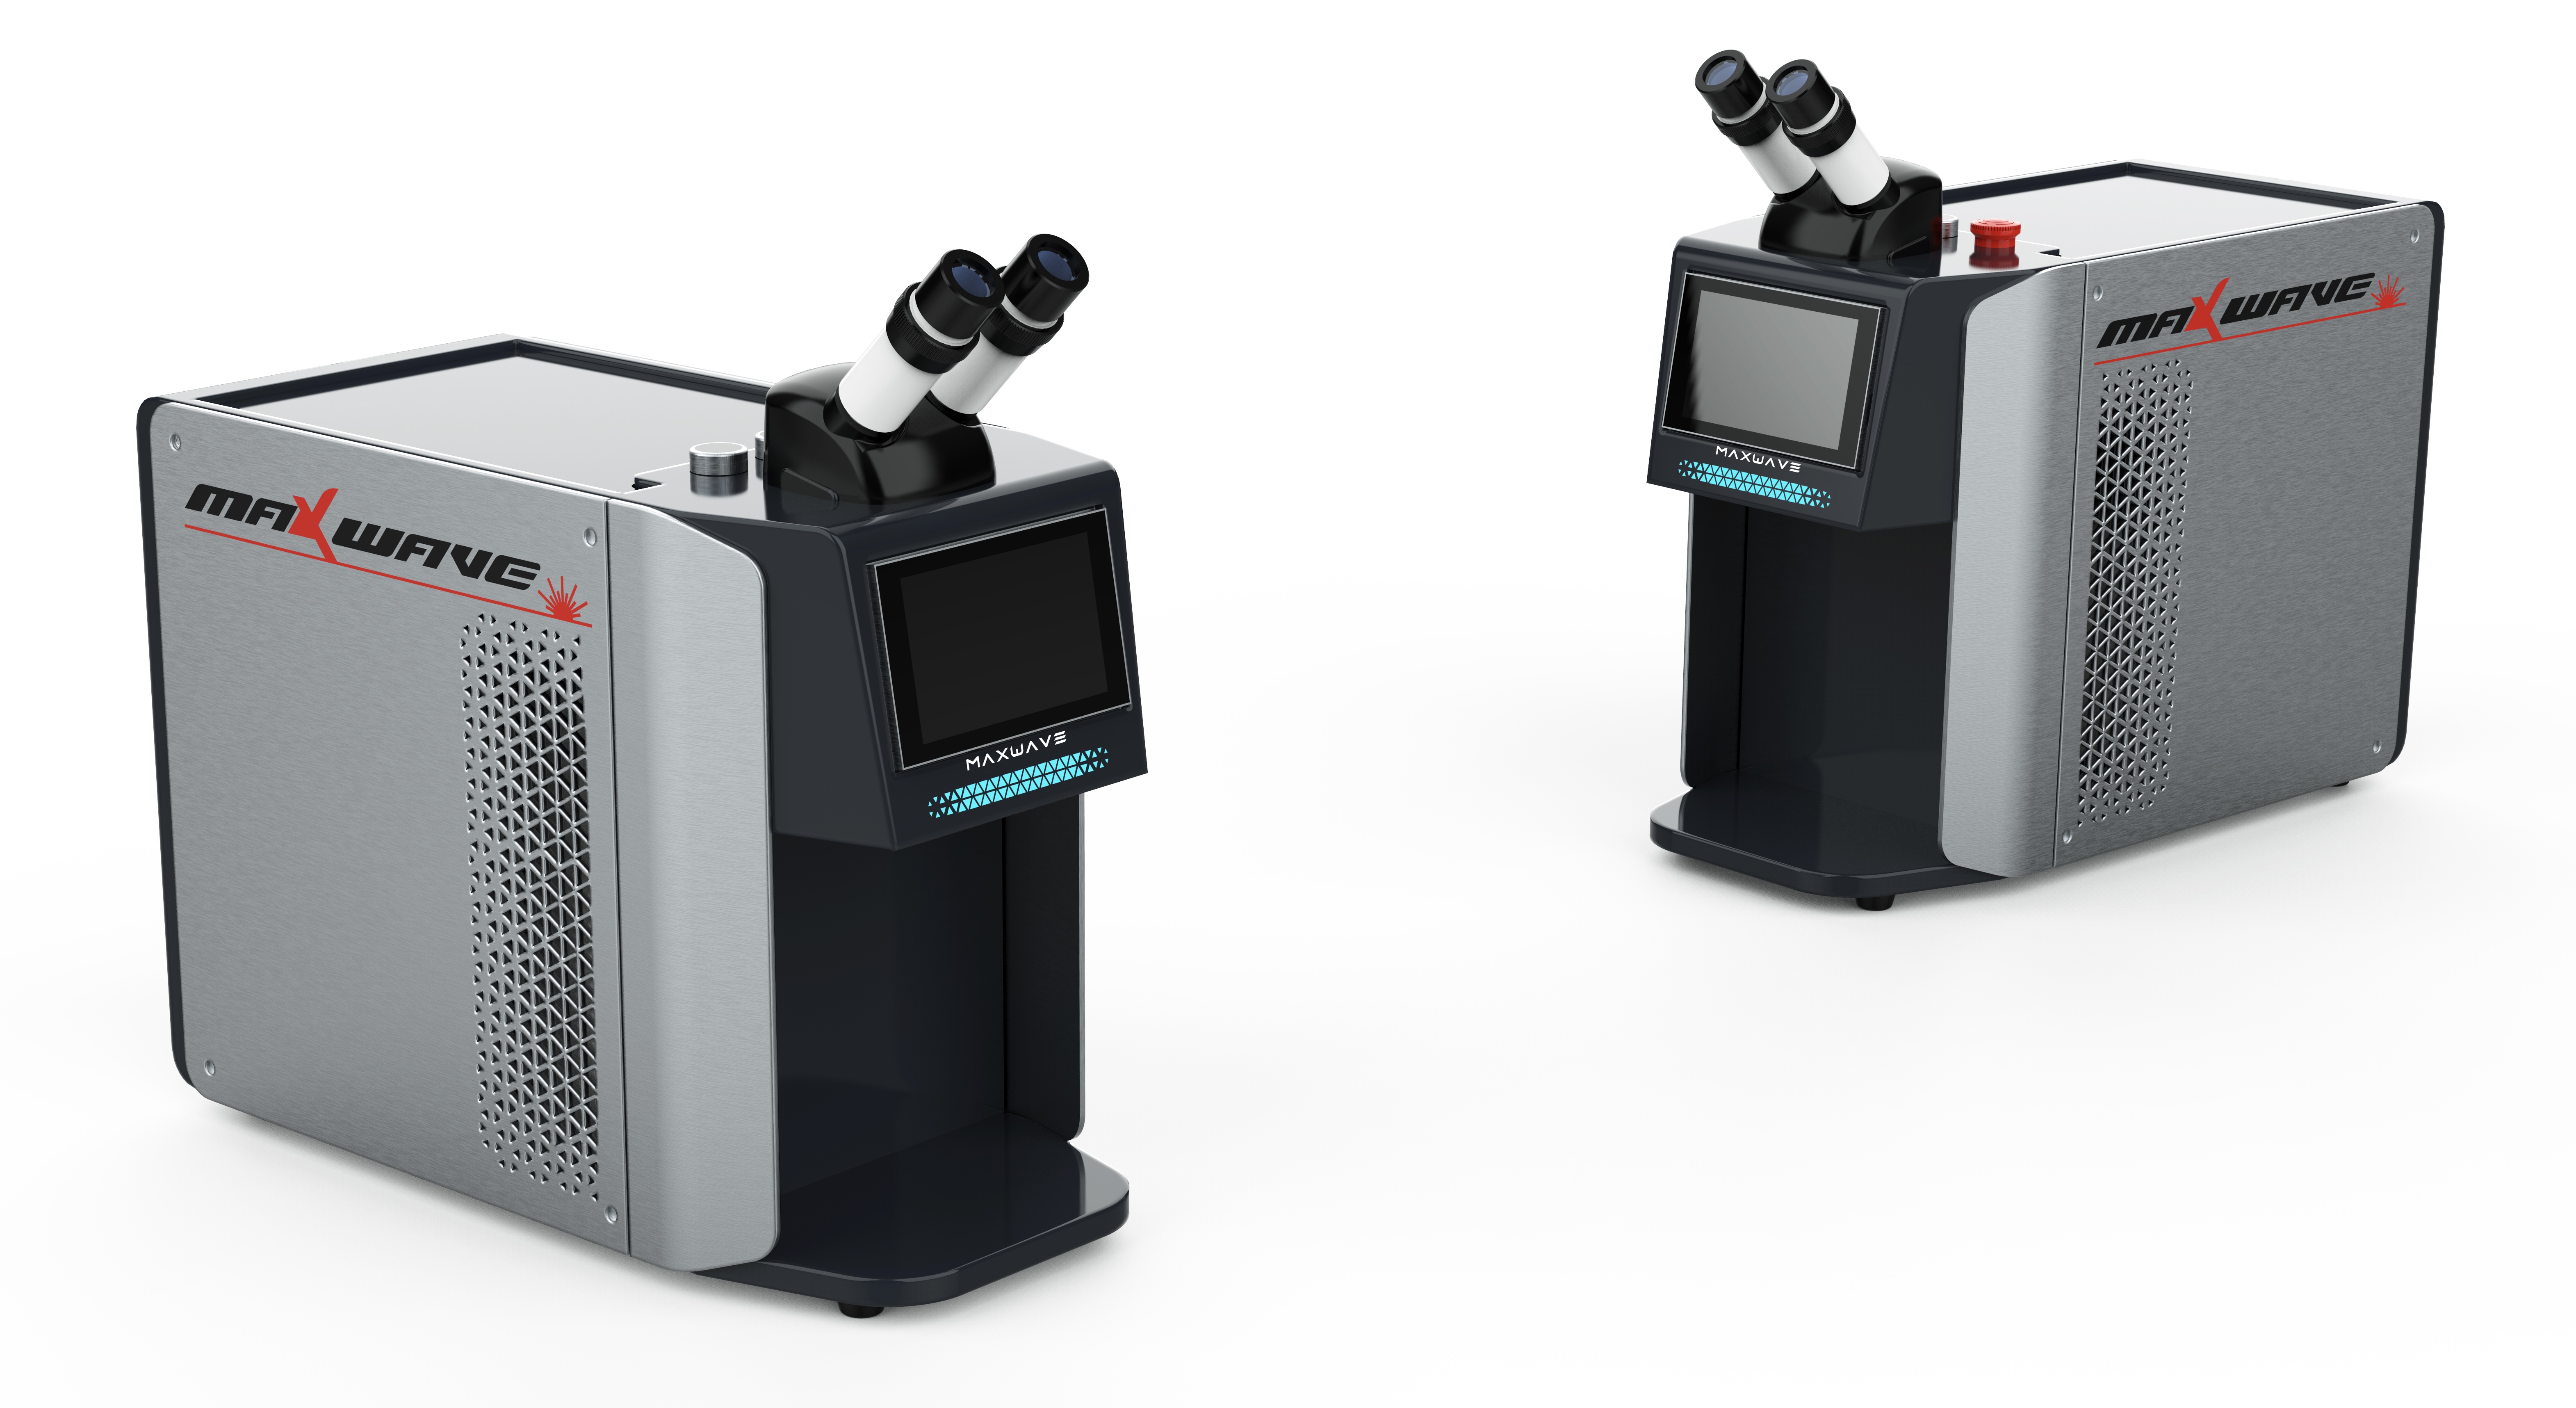
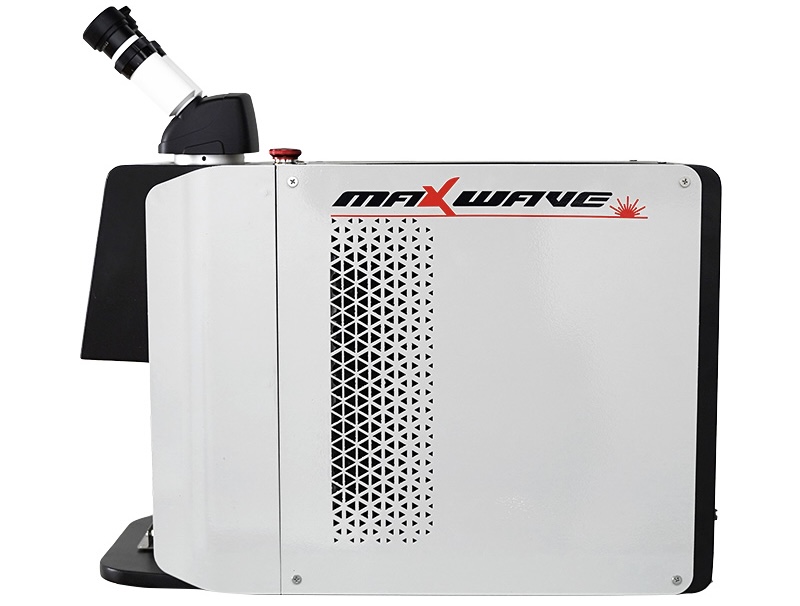
Have you noticed your jewelry laser welder isn’t working as well as before? Based on my experience, keeping the laser optics and cooling system pristine is the secret to getting smooth welds every time. This helps prevent problems and will save you money down the road. Many users focus on the basic checks, performing just the minimum upkeep. I find there’s an important maintenance task that frequently gets missed…
Optics Maintenance Checklist for Jewelry Laser Welders
From my experience, keeping your jewelry laser welder running its best requires good optics care. I suggest you focus on the lens, mirrors, and protective glass. This keeps the beam clear, cuts down on wear, and helps you avoid expensive repairs.
Cleaning Frequency and Techniques
Laser Lens Cleaning (Every Month): I recommend cleaning the laser lens each month. If you use the welder a lot, clean it more often. Use a microfiber cloth and the lens cleaner your welder’s maker suggests. Doing this helps prevent scratches and keeps the optics clear.
Optics Check (Every Week): Check the mirrors and lenses each week. Look for wear, dust, or scratches. Finding problems early stops small issues from hurting your weld quality.
Optics Replacement and Spare Parts
If your laser optics, such as lenses or mirrors, are damaged or worn, it’s important to replace them immediately to maintain a strong and stable beam. Regularly checking and replacing the lens protector and focus lens is also crucial, as neglecting them can lead to reduced welding accuracy and performance. Keeping spare parts on hand helps minimize downtime and ensures smooth operation.
Handling Best Practices
I always suggest using gloves when handling optical parts. Don’t touch them with bare hands. Oils from your fingers and dust can make the jewelry laser welder perform poorly. They can even cause permanent damage.
Maintenance Frequency Overview
- Each Month: Clean the laser lens and main optics.
- Every 3–6 Months: Check and replace water or air filters (for applicable models).
- Each Year: Replace the protective glass.
- Every 2–5 Years: Plan on replacing major components like flash lamps.
In my opinion, doing routine checks and handling your welder’s optics carefully is important. It keeps your equipment working well and protects your investment for a long time.
Cooling System Upkeep
From my experience, keeping your jewelry laser welder’s cooling system working well is key. It helps the welder perform better and last longer. If you ignore the cooling system, it can overheat. This might lead to expensive repairs and poor weld quality. Here are the steps and practices I recommend for upkeep:
Routine Cooling System Maintenance
- Every Day Checks: Check coolant levels before you start the welder. If levels are low, the machine can get too hot and might get damaged.
- Every Week Inspections: Check hoses and fittings for leaks or blockages. If filters are clogged or there’s buildup, the cooling won’t work as well.
- Every Month Reviews: Look over the whole cooling system. Check fans, tanks, and pipes for any wear or anything that looks off.
- Coolant Replacement: Change the coolant every 6 to 12 months. Follow what your welder’s maker suggests. This helps stop mineral buildup and rust.
Choosing the Right Coolant
To protect your laser machine’s cooling system, it’s best to use distilled or low-temperature water, as it prevents mineral deposits and dirt buildup. Avoid using tap water, which can cause scaling and blockages that may damage internal components over time.
Optimal Temperature Settings
For optimal performance of most jewelry laser welders, it’s recommended to set the cooling water temperature around 21°C. However, this may vary depending on your room temperature and the specific welder brand. To avoid condensation and ensure effective cooling, it’s a good idea to set the chiller 3–5°C lower than the room temperature.
When you maintain the cooling system well, you prevent heat stress. Heat stress can damage delicate parts and make them wear out faster. Based on my experience, paying regular attention to the water quality, temperature, and the system’s condition helps you avoid breakdowns. It also keeps your laser welder working great.
Component Replacement Schedule
Based on my experience, keeping a regular component replacement schedule is key for your jewelry laser welder. It helps the machine run reliably for a long time. I suggest following specific timelines. This practice helps prevent sudden breakdowns and protects your valuable equipment.
Key Jewelry Laser Welder Component Replacement Intervals
Flash Lamp Replacement (Every 2–5 Years)
I find that flash lamps need replacing every two to five years. As the lamp gets older, you will likely notice the welding power and speed decrease. If you wait too long to replace it, you might get poor welds, and the machine could shut down without warning.
Protection Glass Maintenance
To keep your laser welder performing well, clean the protection glass in the laser chamber once a month using standard window cleaner and a paper towel. This prevents buildup that can block the laser beam. It’s also important to replace the glass every year, or sooner if you notice metal splatter spots, to protect the optics and maintain high weld quality.
Water Filter and Deionized Water Replacement
Replace the water filter at least once a year. For some models or if you use the jewelry laser welder a lot, I suggest replacing it every three to six months. This maintains the best cooling and stops mineral buildup.
Always add fresh deionized or distilled water when you change the filter.
Optics and Mirrors Inspection and Replacement
Check optics and mirrors each week. Look for scratches, cracks, or any clear wear. Replace damaged parts right away. This keeps the beam focused precisely and ensures strong welds.
Troubleshooting Tips for Jewelry Laser Welders
If your jewelry laser welder isn’t working right, finding the problem quickly saves you time and money. It can also prevent larger, more expensive repairs down the road. Based on my own experience, here are some straightforward ways I identify and fix common issues:
Unstable Laser Power
- Check the Protective Lens: I often find that a damaged or dusty protective lens causes power levels to jump around. Look closely to see if your lens is cracked or just dirty.
- Confirm Beam Centering: You need to make sure the laser beam comes out exactly from the center of the nozzle. If the beam is off-center, you might notice power drops or the laser making inconsistent spots.
- Inspect All Lenses: Does the laser power drop while you’re welding? In my experience, this often points to lens damage. It’s a good idea to look over every optical part: the protective lens, focusing lens, collimating lens, and reflector lenses. If you see any clear damage, I recommend replacing that part immediately.
Poor Weld Quality
Weld Buildup: If the weld looks like it’s piled up too high, your jewelry laser welder wire might be feeding too fast, or maybe you’re welding too slowly. Try increasing your welding speed or slowing down the wire feed. I’d also suggest reducing the laser power slightly to prevent over-filling.
Shallow Penetration: Is the weld failing because it didn’t go deep enough? Check your energy settings and the laser focus. I suggest you increase the pulse width and current. Adjusting the laser’s focus point can also help achieve deeper penetration.
Weld Path Deviation: Sometimes the weld metal doesn’t quite settle into the middle of the joint. This is often due to how the workpiece is positioned or how the wire is aligned. Recheck your welding path and wire alignment. You might also need to adjust the filler timing.
Surface Dents: If you see dents after brazing, it often means the laser spot isn’t centered correctly. Adjust the alignment between the light path and the wire feed until they match up properly for the target area.
Uneven Weld Molding: Do your welds look rippled, have messy edges, or just seem oddly shaped? This typically signals an issue with your parameters or speed. I recommend reviewing all your settings to make sure they are correct and consistent.
Nozzle and Optics Issues
If you notice burn marks on the nozzle, the red guide light may be misaligned, causing the laser to hit the nozzle. Check that your focus settings aren’t set to zero and that the scanning wipe setting is at 3 (out of 5). Damaged lenses should be replaced promptly. Materials like aluminum and galvanized sheets can be harsh on protective lenses, so it’s best to use the lowest effective power when welding them. For hollow items, lowering the standard power setting helps prevent accidental burn-through and protects your optics.
Addressing these common issues promptly helps maintain high weld quality. It also protects your equipment investment and, in my opinion, gives your laser welder a longer, more productive life.
Summary
Based on my years using different jewelry laser welders, I can tell you regular maintenance is crucial. It really makes a difference. I suggest following the provided cleaning schedules and replacement guides. Pay attention to the troubleshooting tips too. Doing this helps your welder last longer. You will achieve better quality welds consistently. Taking a little time for care now avoids big problems later. I shared these tips from my own experience. I hope they assist you in keeping your laser welder working well. This approach saves you time and money. It also helps deliver the precise results your jewelry work requires. For more details about jewelry laser welder or to get a quote, contact us today!


Recent Comments